Opter 2026.06.00
Last updated: 24 September 2026
In this article
Create orders using AI
The AI feature is currently under development. It is free of charge during the trial period, but will be charged for as an additional service in future. No end date has yet been set for the trial period.
The AI can create new orders in the order reception system based on the content of:
-
Emails.
-
Free text.
-
PDF files (e.g. consignment notes in PDF format).
-
MSG, EML and TXT files.
-
Images in PNG and JPG file formats. For example, you can take a picture (a photo) of a freight bill or parcel label and let the AI create an order.
The AI creates one new order at a time, based on one or more files. There is no limit to the number of files you can drag and drop. For example, you can create a new order based on an email, two images and a PDF file.
There are two ways to do this in the order reception department:
-
Drag and drop files directly onto the AI button (the quickest way).
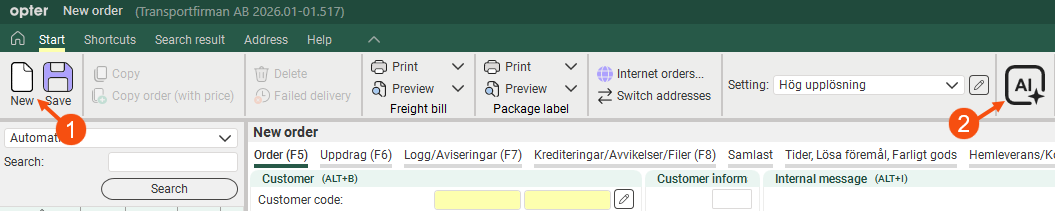
Click on New (1) and drag and drop emails and other files onto the AI button (2). The AI analyses the information and fills in the fields on the new order. Check the details and click Save to place the order.
-
Use window Read-in order with AI (more control).
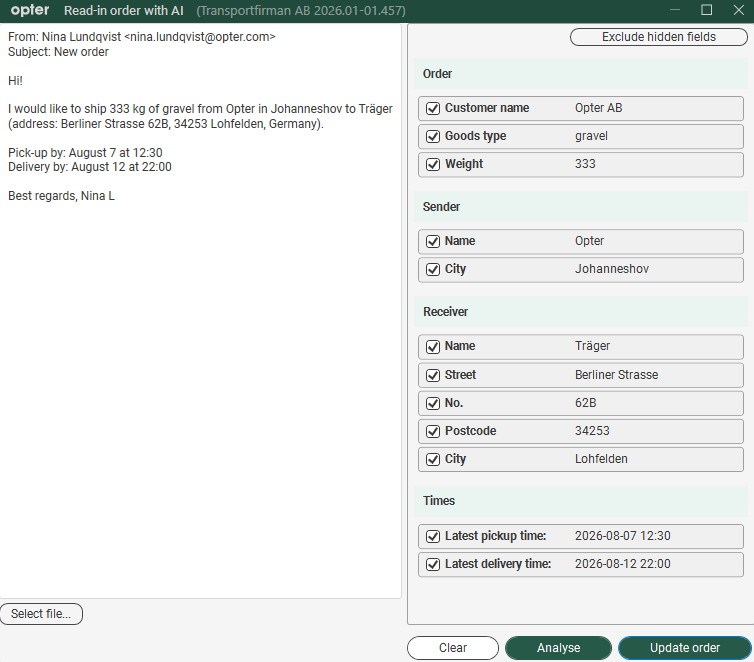
Click the AI button, drag and drop, or copy and paste emails and other files into the window Read-in order with AI. The AI analyses the information and then displays a suggestion as to which fields it wishes to fill in. Check the details and click Update order to populate the fields on the order.
More information:
Fortnox: certificate warnings
The following messages have been added to facilitate troubleshooting and to improve forward planning:
-
The certificate will expire in {0} days. Follow the instructions at docs.opter.com to renew it. You will therefore receive an advance warning that the certificate is about to expire.
-
The certificate is invalid or has expired. Follow the instructions at docs.opter.com to renew it.
-
The certificate could not be found. Follow the instructions at docs.opter.com to create it.
These messages may appear when you export invoices or supplier bills to Fortnox, or when you import payments.
More information:
Deactivated users are logged out
If you deactivate a user – for example, because an employee is leaving – that user will be logged out and will no longer have access to the system.
More information:
Customs information
Customs information in Opter refers to the information required for the transport of goods between countries, or, for example, between the EU and Norway.
The main purpose of this function is to enable the storage, sending and receiving of customs information.
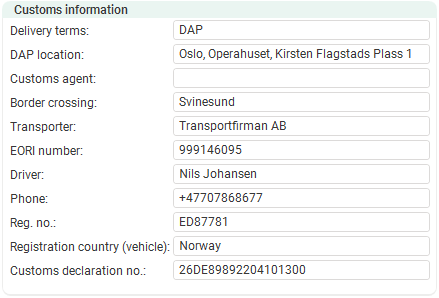

Groups Customs information, Consignor and Consignee in the order reception are used to store the order’s customs information.
To make it easier to manage customs information, you can, with the help of the EDI team, integrate Opter with systems that handle customs information (such as customs declarations and supporting documents). Once Opter and the customs information management system are linked, customs information can be sent automatically between the systems.
More information:
Norwegian goods in transit (NVIT)
Applies to Opter version 2026.06.94 and later.
Goods which have both their collection address and delivery address in Norway, but which pass through Sweden or Finland en route, are classified as Norwegian goods in transit (NVIT).
The map below shows an example of goods being transported from Oslo to Tromsø (in Norway) via Sweden.
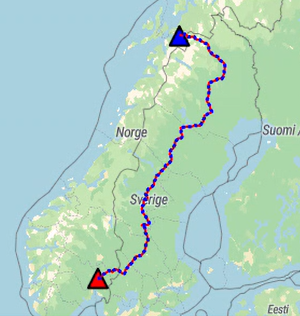
NVIT is, therefore, Norwegian domestic freight transiting through Sweden or Finland. All NVIT-goods must be declared using a six-digit HS-code, product description, net weight, gross weight, value, etc. Further information is available at https://www.toll.no/no/bedrift/transport-og-tollager/norske-varer-i-transitt.
In Opter
In Opter, you can enter, view and store detailed information about the goods. You do this in group Goods items in the order reception department.

If you need to declare packages Text and Package type (and so on) for the goods, enter Text and Package type for the package in group Packages in the order reception and link the goods line to the package in which the goods are physically contained by selecting the package number in column Package in the group Goods items.
Item lines (and package lines) can be imported and exported via EDI. If you use a customs agent to handle transit declarations, it is therefore possible to send the goods information from Opter to the customs agent via EDI. Please contact the EDI team (on ) and, if necessary, arrange an EDI connection between your Opter and the customs agent.
More information:
Supplier: separate email address for supplier bills
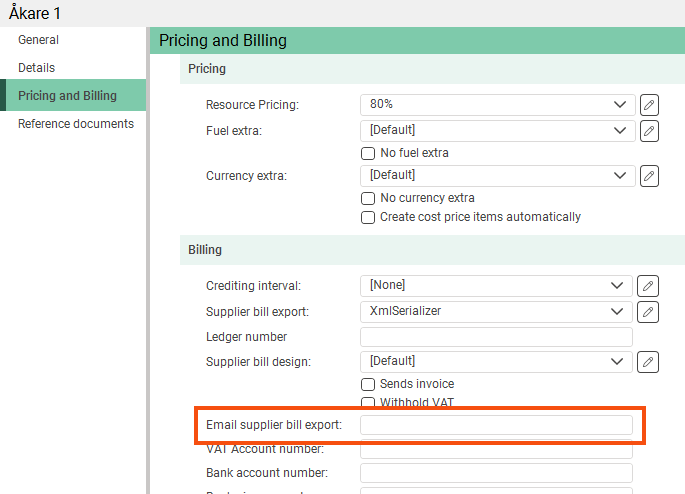
You can now enter a separate email address for supplier bills in field Email supplier bill export on the Pricing and Billing tab in the driver register. If you do not specify a particular address for supplier bills, they will be sent to the main address on the tab General.
Applies only to settlement exports of types PDF, XmlSerializer and Fortnox.
More information:
Other news
 AddSecure – driver app
Drivers using the AddSecure driver app can be managed via Opter. The shipments are sent to AddSecure, and the status and locations are sent back to Opter. The connection is set up as a mobile device type.
More information:
POD settings for arrival at the terminal have been moved
In the terminal register, the Scanning tab has been removed and the settings No POD on arrival, Optional POD on arrival and Mandatory POD on arrival have been moved to the tab Mobile/web.
The settings have been renamed from No POD on arrival scan to No POD on arrival, as they do not only apply to status changes upon scanning.
More information:
Multiple POD images
Applies to:
-
Opter Driver Labs for Android and Opter Driver for iOS, version 2.4.136 and later.
-
The status page (i.e. the web page that opens when you scan a QR code to update the status on the freight bill).
It is now possible to add multiple images to the proof of delivery in Opter Driver and on the status page. (Previously, it was only possible to add one image.)
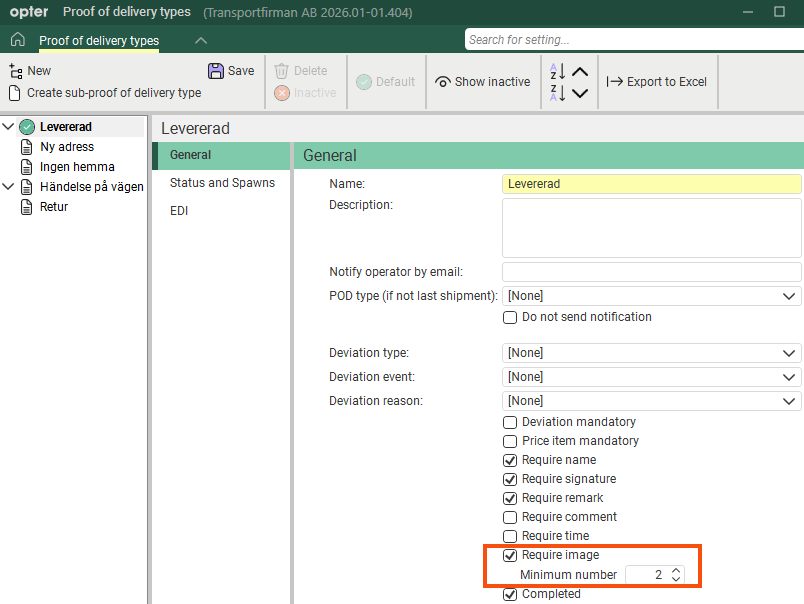
It is now also possible to set the number of photos that drivers and subcontractors must add before the proof of delivery can be saved. Select Require image and set the minimum number for the POD-type in the window Proof of delivery types.
Order reception:
In groups Proof of delivery (POD) and Attachments, you can view images that have been added to proofs of delivery. In group Proof of delivery (POD), you can add the new column Images by clicking Settings > Order reception > POD settings and moving Images from the list Excluded to Included, then save. Column Images shows the number of attached images included on the proof of delivery. If you want to view the images, click on the number in the column. If there are a lot of pictures, you can scroll through them. If you want to view the images in a larger size, click on the icon next to the image.
The resource webs and the customer web:
Images attached to the proof of delivery are displayed in window Preview (the detail view) in sections POD Information, Attached files and Tracking log from Track & Trace. In section POD Information, the figure in column Images shows the number of images. Click on the pictures in the column if you want to view them in a larger size. You can then scroll through the images by clicking on the arrows. In section Attached files, you can click on the images if you wish to download them. In section Tracking log from Track & Trace, one POD image can be displayed.
Track & Trace:
Images attached to the proof of delivery are displayed in section Tracking log in column Photo from delivery and in section Delivery Attachment in column File name. Click on the pictures in the column if you want to view them in a larger size.
EDI:
All images on the proof of delivery can now be included during import and export. (Previously, only one image per proof of delivery was sent via EDI, even if the proof of delivery contained more than one image.)
Please contact the EDI team at edi@opter.com. They need to add the element ProofOfDelivery/attachment in your exports/imports.
More information:
Printing order lists and freight bills in Opter Terminal
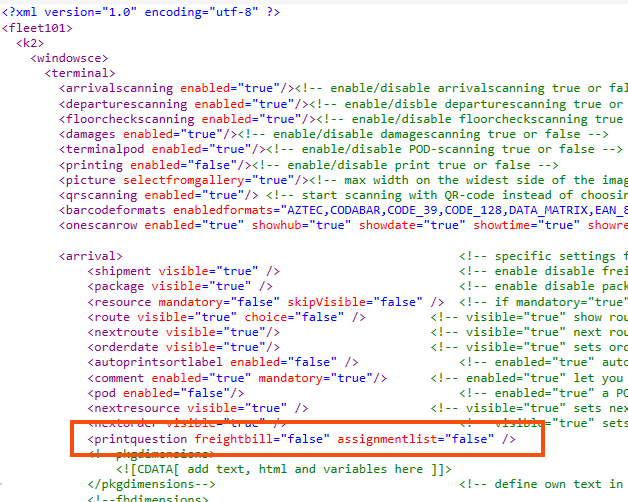
It is now possible to configure the system so that the prompts to print task lists and freight bills, which appear after batch scanning in Opter terminal, are not displayed. These can be configured independently for arrival scans, departure scans and floor check scans, which means you can display the questions for one scan direction but not for another. Add the following line to Terminal.Settings in the sections arrival, departure and floorcheck:
<printquestion freightbill="false" assignmentlist="false" />
Requires Opter Terminal 84.0.
More information:
New trails for auto dispatch
When you use auto dispatching to allocate shipments by splitting them by terminal in the dispatch centre, or when you use auto dispatching in the order reception department, the new shipments are assigned new trails based on the new addresses.
More information:
Export of invoices and statements to Visma Business NXT (API)
It is now possible to export invoices and supplier bills from Opter to Visma Business NXT.
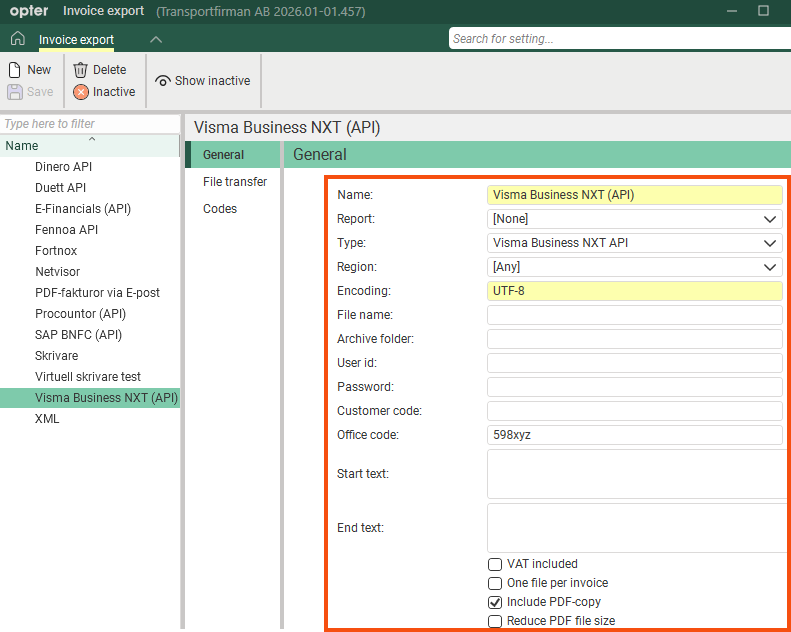
If you already have a customised export to Visma Business and now wish to export to Visma Business NXT instead, you can reuse the same transformation. In that case, invoices and supplier bills will be exported in the same way as before, but now to Visma Business NXT instead. Contact for more information.
More information:
Do not class as long goods if the package is stackable
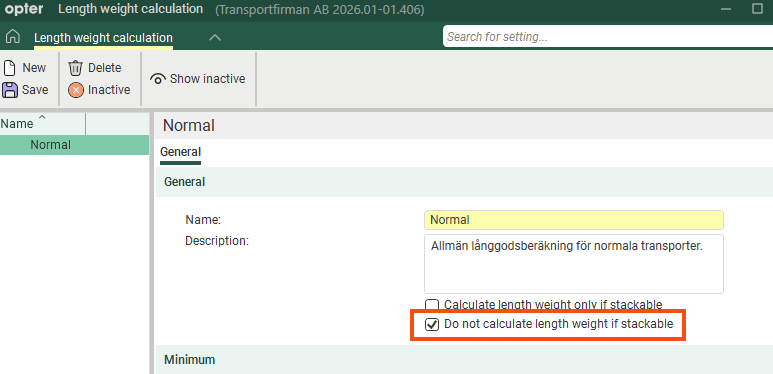
It is now possible to exclude stackable parcels from the length weight calculation. Select Do not calculate length weight if stackable. In that case, the length weight calculation is based solely on packages that are not stackable.
More information:
Consignment orders on the customer portal
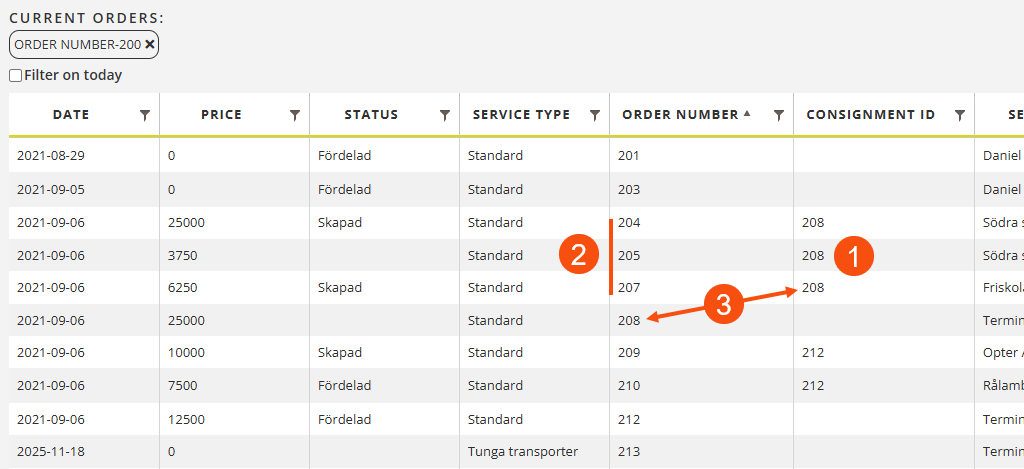
Consignment orders that are invoiced to the customer are now displayed on the customer web in the same way as standard orders. No settings need to be adjusted.
More information:
Address directory for Latvia
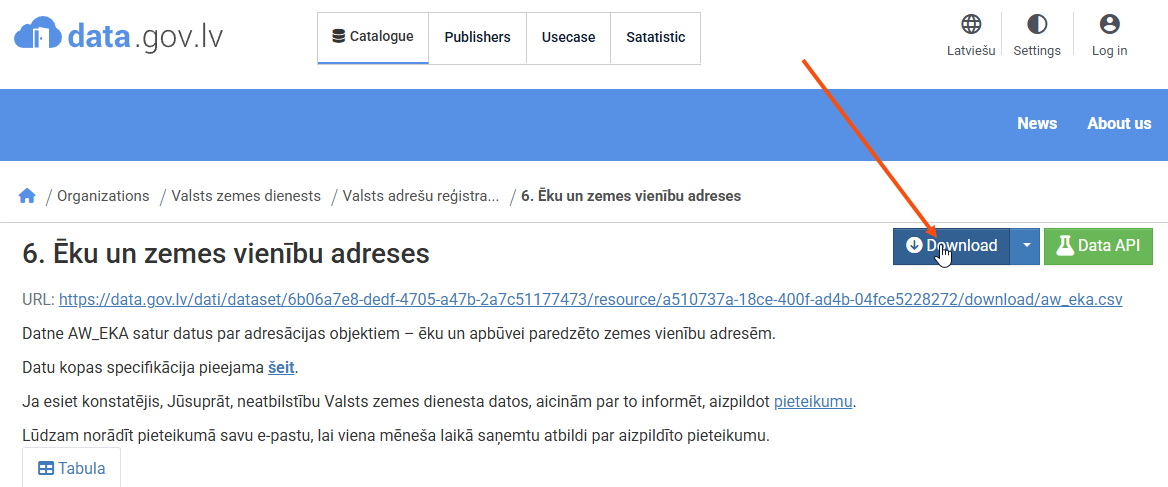
It is now possible to import Latvian addresses. Download the CSV file from data.gov.lv and import it as usual.
More information:
Cookie information and privacy policy for the web portals
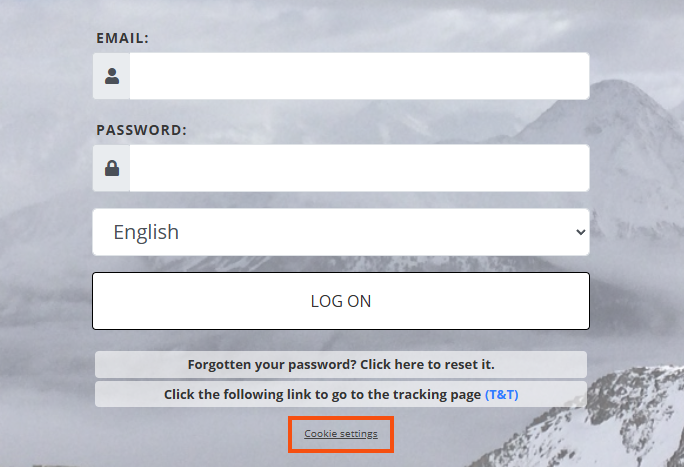
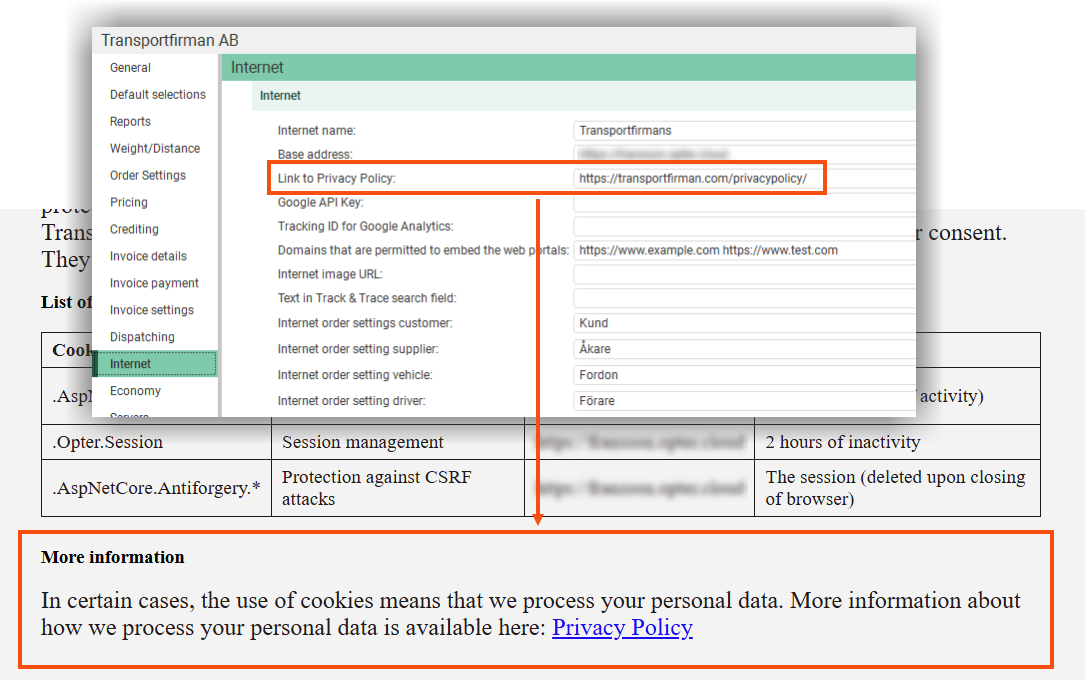
Further information is now available on the cookies used on the web portals. Click on Cookie settings on the login page.
You can also add a link to your own privacy policy. It will then appear at the bottom of the page containing information about cookies. Enter the full web address (“https://transportfirman.com/privacypolicy/”) in the Link to Privacy Policy field on the Internet tab in the Office settings.
More information:
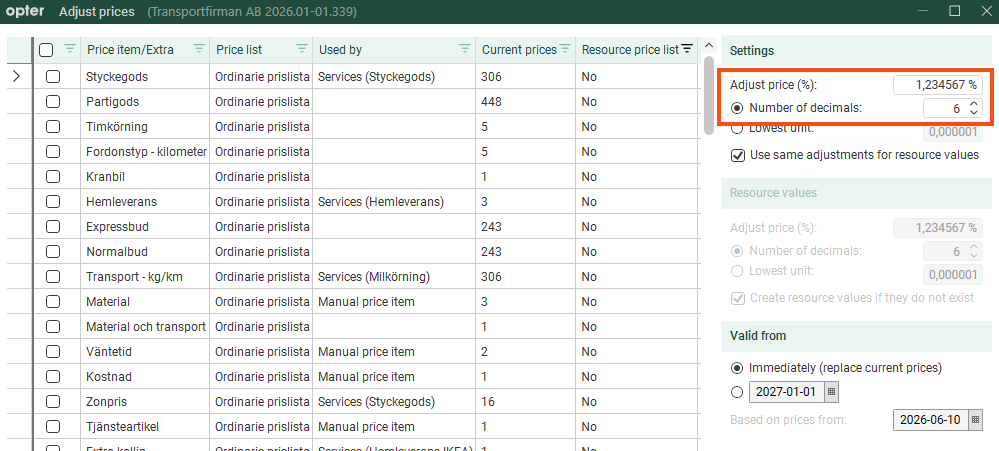
Adjust prices to six decimal places
It is now possible to enter up to six decimal places in the percentage by which prices are to be adjusted, instead of just two.
More information:
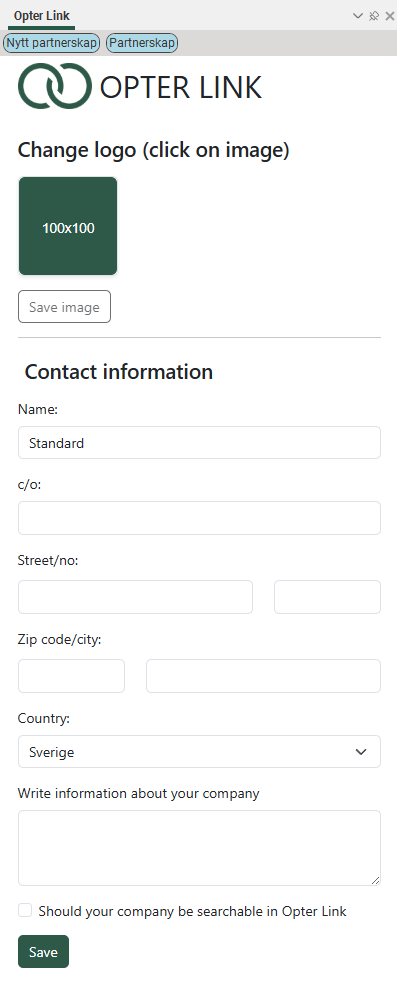
Opter Link
Opter Link has been simplified both on the surface and under the bonnet. The chat function has been removed, but otherwise it works as usual and is managed from the dispatch section in the panel Opter Link.
More information:
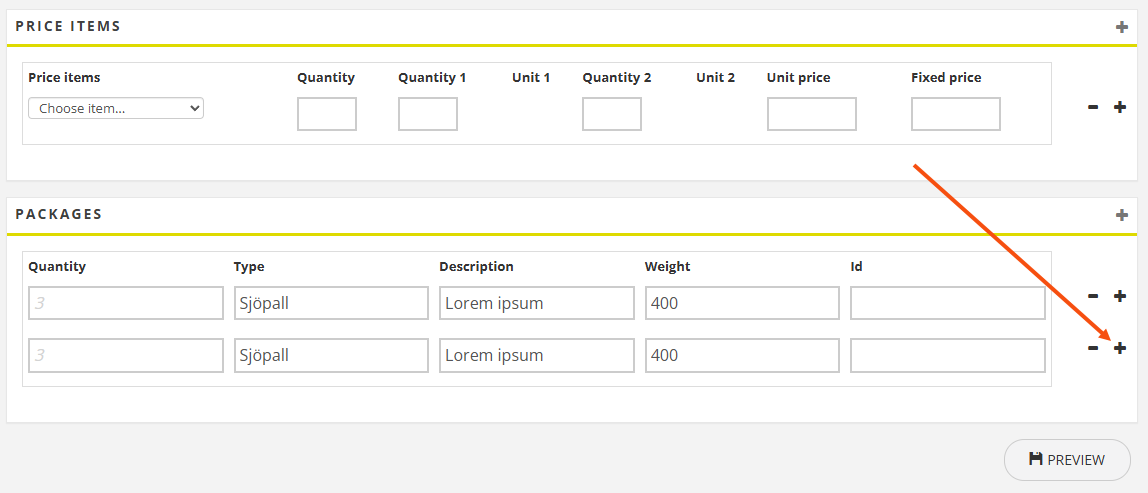
Web portals: copy parcel lines
It is now possible to copy line items in the order form on the web portals. Click on the plus sign to copy the row.
More information:
The order’s region in the order control system
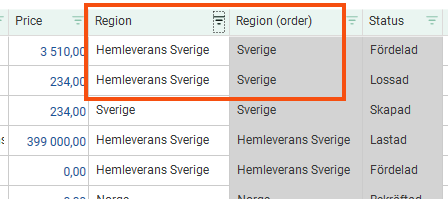
Add the Region (order) column (only available in the task tracker). It is intended to be used in conjunction with column Region to identify orders where the regions of the shipments differ from the order’s region.
More information:
Invoice export to E-Financials (API)
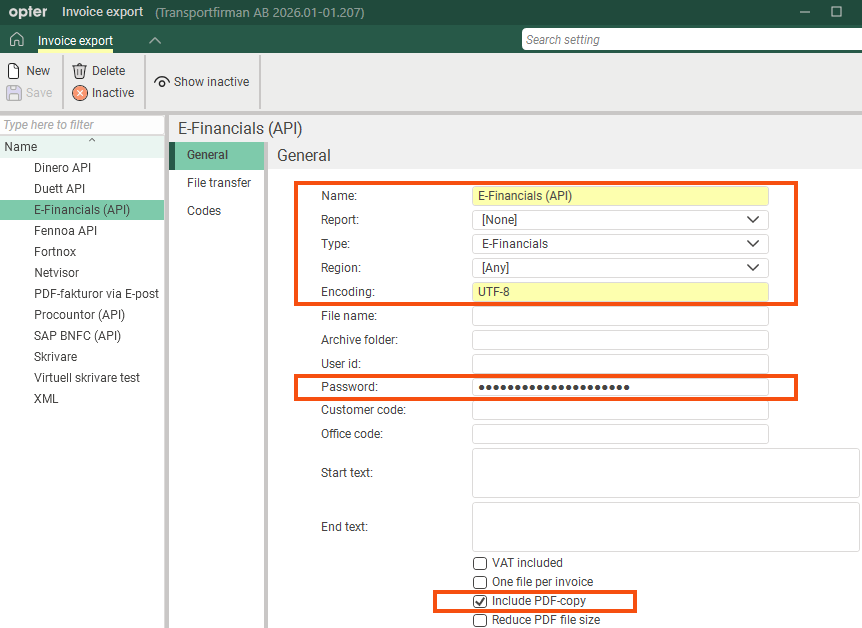
It is now possible to export invoices from Opter to E-Financials.
More information:
New column in the diagnostics log
The Status column has been added to the log, which you can open by clicking Help > Diagnostics > Logs or by pressing F11 whilst in the window Main menu.
This column displays an HTTP status code that indicates the outcome of the request. For example, ‘200 OK’ means that the request was successful. (The server received the request, understood it, processed it and returned a response containing the requested information.)
More information:
New fields in the API
-
Extra ID2–Extra ID8 on the item lines in the order reception = extraId2–extraId8 in the resource Statistics.PriceItemRow (includePriceItemRows). Extra ID1 already existed.
-
The geozone code from Geographic zone collections = geographicalZoneCode in the resource Statistics.Address (includeAddresses).
-
Product group from tab Price items in the price list = productGroup in the resource Statistics.PriceItemRow (includePriceItemRows).
-
Ready for dispatch, Not to be credited and Trail from the order reception department (both orders and shipments) = readyForDispatching, notToBeCredited and trail in the resources Statistics.Delivery (includeDeliveries) and Statistics.Shipment (includeShipments).
-
Route from the order processing assignment = routeCode in the resource Statistics.Shipment (includeShipments).
-
Target cost for vehicles and drivers (specified when logging in to the dispatch centre) = cost in the resources Statistics.Vehicle (includeVehicles) and Statistics.WorkingSession (includeWorkingSessions).
More information:
-
Swagger, if you’re using the cloud:
https://transportfirmanse.opter.cloud/api/index.html?urls.primaryName=Opter+EDI+API+v1
Replace “transportfirmanse” with your cloud name (company name + country code).
-
Swagger, if you’re running on-premises:
https://transportfirman.se/api/index.html?urls.primaryName=Opter+EDI+API+v1
Replace “transportfirman.se” with your web address or IP address.
Opter Driver: display country for addresses
In Opter Driver for iOS and Opter Driver Labs for Android, you can now see which country addresses are located in. The following can be added to App.OpterDriver.Design and in the window Design field for mobile:
-
Country (from) [COUNTRYFROM] Country of the collection address.
-
Land (to) [COUNTRYTO] Country of the delivery address.
-
Order - country (from) [DELIVERYADDRESSCOUNTRYFROM] Sender's country of origin. Applies to the order.
-
Order - country (to) [DELIVERYADDRESSCOUNTRYTO] Country of destination. Applies to the order.
-
Country (consignment) [COUNTRYCONSIGNMENT] The land of consignments. This might be of interest if you handle consignments.
-
Country (original shipment) [COUNTRYCONSIGNED] The country of the original assignment. This might be of interest if you handle consignments.
Country [COUNTRY] This has been available for some time and is only of interest if you handle consignments.
The complete code example from App.OpterDriver.Design has been updated.
More information:
Opter Driver: display the order number for the consignment
In Opter Driver for iOS and Opter Driver Labs for Android, it is now possible to display the consignment’s order number in the order list, the detail view and the POD view as The consignment’s order number [CONSIGNMENTID] in App.OpterDriver.Design and Design field for mobile
The complete code example from App.OpterDriver.Design has been updated.
If you are using App.OpterDriver.Design and want to display the text Consignment order no. in Opter Driver, you can use the text tag "$Design_ConsignmentOrderNo".
More information:
Original order in the order check system
It is now possible to view the original order number for orders that have been created automatically upon POD registration. Add the Original order column (not included in the cost control).
More information:

