Sending notifications automatically
Last updated: 23 November 2023
In this article
Notifications can be set up so that they are sent out automatically to customers, customer references, senders and receivers, or to any email address/telephone number, when there are status changes or other events relating to the order. These are called notification subscriptions.
It is also possible to create notification subscriptions when orders are imported via EDI. Contact for more information.
Step 1: Open the Notification subscriptions window
You can control the orders for which notifications are sent by basing the notification subscriptions on the customer, customer reference, customer project or a set of home delivery settings. Depending on how you want to configure the automatic notifications, you open the window in different ways.
-
Click on Register > Customers and find the customer for which notifications are to be sent for its orders.
-
Select the customer from the list on the left and click on
 (Notification subscriptions) in the toolbar.
-
Click on Register > Customers and find the customer where the customer reference for which notifications are to be sent for its orders works.
-
Select the customer from the list on the left and click on
 in the toolbar.
 -
Click on
in the toolbar in the Reference window.
-
Click on Register > Customers and find the customer with the customer project for which you want to send notifications.
-
Select the customer from the list on the left and click on
 in the toolbar.
 -
Click on
in the toolbar in the Customer project window.
-
Link a home delivery configuration with the service for which notifications are to be sent out by clicking on Economy > Price lists > Services and selecting the service from the list on the left.
-
Go to the Dispatch tab and select a home delivery configuration from the Home delivery settings drop-down list.
-
Click on Save to save all changes.
-
Click on Settings > Home delivery settings and select the home delivery configuration that you linked to the service.
-
Go to the Notifications tab and click on Notifications.
The notification subscription will apply to orders with the services to which the home delivery configuration is linked.
Step 2: Create a new notification subscription
Click on ![]() in the toolbar and select a method (email or SMS) in the Method field. In order to send notifications via SMS, you need to have a Pixie account. See Activating the Pixie SMS service. If you select SMS as the method, you cannot attach freight bills or package labels to the notification.
in the toolbar and select a method (email or SMS) in the Method field. In order to send notifications via SMS, you need to have a Pixie account. See Activating the Pixie SMS service. If you select SMS as the method, you cannot attach freight bills or package labels to the notification.
Step 3: Choose who should receive the notifications
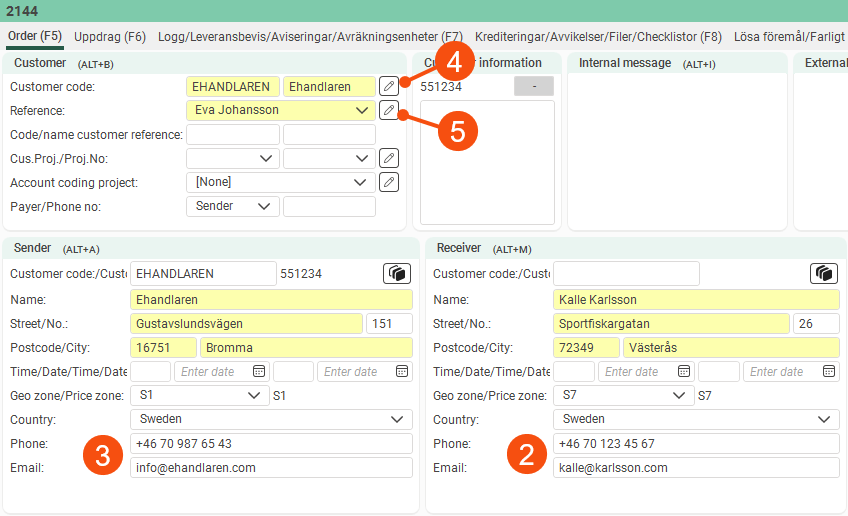
Select the email address or telephone number to which the notification should be sent in the Take {0} from field. If Manual is selected, enter the email address or telephone number in the Email address/Phone number field. The other four options are retrieved from the customer registry and order reception:
-
Receiver
-
Sender
-
Customer (tap
 to see the email address/telephone number)
 -
Reference (tap
to see the email address/telephone number)
Step 4: Select report
If you are basing the notification subscription on a service, i.e. if you have opened the window from Home delivery settings, select the report to be sent out from the Message drop-down list.
The Message drop-down list is only displayed if the window is opened from Home delivery settings.
In order for the selection made in the Message drop-down list to take effect, the Notification drop-down list below must be set to [Default]. For more information, see Notification subscriptions (window).
Step 5: Select the orders for which notifications will be sent out
Under Availability, enter the orders for which notifications are to be sent out based on where the orders have been created. In order reception, on the customer web or via EDI. If you select Use in internet orders, the notification subscription appears as a default in the order form on the customer web.
Step 6: Select attachments
If you want to add freight bills and package labels as attachments to email notifications, choose which report to use for each attachment. If you have selected SMS as the method, freight bills and package labels cannot be attached.
Step 7: Choose the events for which notifications are sent
First select a category and then one or more events for that category. You can only choose one category for each notification subscription, but several different events for the category you have chosen.
To send out notifications for events in different categories, add a new similar notification subscription for each category by clicking on ![]() . Don’t forget to first save the notification subscription you are currently configuring.
. Don’t forget to first save the notification subscription you are currently configuring.
Example
You want to send notifications to a receiver for three different status changes, and also if a deviation is registered on the order. For that, create two identical notification subscriptions. On one, select the Status event category and select the three statuses. On the other one, select the Deviation event category and select all types of deviations.
Notifications for the Vehicle movement category are always sent to the email address specified for the customer reference (first) or the customer (second), regardless of any other settings configured for the notification subscription. It is therefore not possible to send vehicle movement notifications via SMS or to enter a manual email address as a receiver.
Step 8: Save all changes
The notification is sent out when Opter receives information about the event for which you have configured the notification, for example when the status of an order changes, when a checklist has been completed by the driver or when a deviation is recorded on the order. Both notifications that are sent, and those that fail to be sent, are logged in the notification log.
If the content of the email or SMS is to be shown in the notification log, select the Log messages checkbox. The checkbox is on the Servers tab in the office settings.
For more information about the notification log, see Order log (order reception).
The Notifications section of order reception shows the notifications that are configured to be sent out automatically. One or more of the predefined notifications can be sent, or a completely new notification can be created. The column shows whether the notification has been sent out before. Sent For more information, see.