Last updated: 27.03.2023
Valid from: 2022.12.00 and later, Opter Driver for Android 1.9.7, Opter Driver for iOS 2.2.2 and later
Information linked to the customer’s address
There is a free text field for the customer's visiting address in the customer registry where you can enter special instructions that apply to that address, such as safety instructions for loading or unloading. The information can then be displayed in order reception, order check, on the web and in Opter Driver for orders where the address appears.
Step 1: Activate the function
The field must first be activated in the customer registry so that the information can be added. Proceed as follows:
- Click on Settings > Address settings.
- Select Registry from the list on the left.
- Select the checkbox in the Visible column for the Info field.
Step 2: Display the information
This is how to display the information you enter in the information field in different places:
- Click on Settings > Address settings.
- Select Order reception from the list on the left.
- Select the checkbox in the Visible column for the Info field.
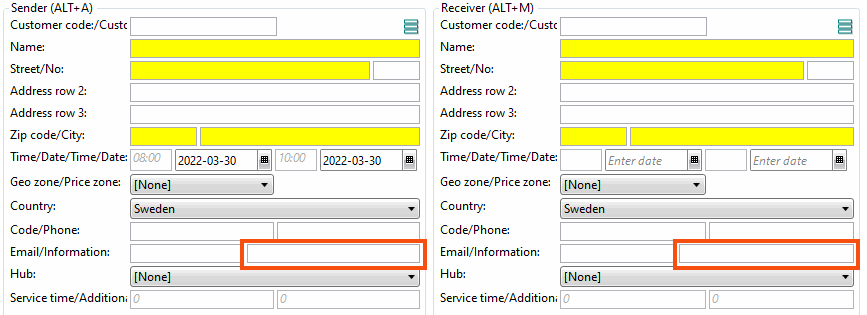
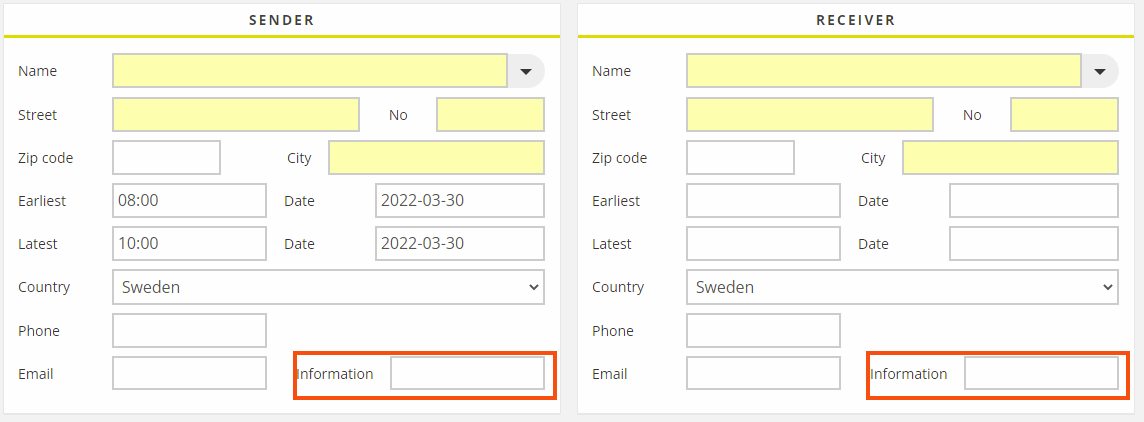
If there is information about the address, it is displayed in the field below the address in the Sender and/or Receiver sections and in the Information column in the Addresses section.


Click on
 next to the Setting drop-down list in order check.
Go to the Columns tab and double-click on Information - sender and Information - receiver to add them to the Included list.
- Click on Settings > Internet > Internet order settings.
- Go to the Fields on the order page tab and double-click on Info sender and Info receiver to add them to the Included list.

The information can be displayed in the shipment list, on the shipment and on the proof of delivery and is set in App.Design.
- Click on Settings > Mobile data > Settings mobile data.
- Click on Edit, next to App.Design.
Choose where in the app the information is to be displayed.
- Shipment list = summaryrows
- Shipment = expandedrows
- Proof of delivery = podrows
Choose whether you want to display any information about the sender or receiver addresses.
- The sender's address: add the <row><item itemname="ADDRESSINFOTO" /></row> row in the section in which the information is to be displayed (see step 3).
- The recipient's address: add the <row><item itemname="ADDRESSINFOFROM" /></row> row in the section in which the information is to be displayed (see step 3).
In the example below, we have added the text “Info:” in front of any information text and a condition that ensures that an empty space is not displayed if there is no text to display.
    <summaryrows>
      <row>
        <item itemname="CURRENTSTATUS" position="0" width="60" positioning="relative" font="NORMAL" />
        <item itemname="EARLIESTPICKUPTIME" position="0" width="20" positioning="relative" font="NORMAL" />
        <item itemname="LATESTDELIVERYTIME" position="0" width="20" positioning="relative" font="NORMAL" />
      </row>
      <row>
          <item itemname="'Info: ',ADDRESSINFOTO" condition="ADDRESSINFOTO" font="NORMAL" />
      </row>
      <row>
          <item itemname="'Info: ',ADDRESSINFOFROM" condition="ADDRESSINFOFROM" font="NORMAL" />
      </row>
      <row>
        <item itemname="ADDRESSFROM,' / ',STREETFROM,' ',STREETNOFROM,' / ',CITYFROM" position="0" width="100" positioning="relative" font="NORMAL" />
      </row>
      <row>
        <item itemname="ADDRESSTO,' / ',STREETTO,' ',STREETNOTO,' / ',CITYTO" position="0" width="100" positioning="relative" font="NORMAL" />
      </row>
    </summaryrows>
For more information, see App.Design.
To display any fields with information about the sender address and/or the receiver address in Opter Driver for iOS, set it up in the Design field for mobile window or in the XML file in App.OpterDriver.Design or in App.Design, depending on which one is being used. The fields are called “ADDRESSINFOFROM” and “ADDRESSINFOTO”. For more information, seeConfiguring which fields are displayed in Opter Driver for iOS, Design field for mobile (window) and App.OpterDriver.Design.
See also