Exporting and importing routes to/from Excel
Last updated: 17 September 2025
In this article
If you have many routes, it may be easier to export them to Excel, and work with them there instead of in Opter, and then import them back into Opter.
When exporting routes to Excel, the following options are available:
-
Routes - general: All routes and the information on the General tab are exported.
-
Routes - pickup: Distribution routes and the information on the Pickup tab are exported, and the resource on the General tab.
-
Routes - delivery: Distribution routes and the information on the Delivery tab are exported, and the resource on the General tab.
-
Routes - line haul: Line routes and the information on the Line haul tab are exported, and the resource on the General tab.
-
Routes - options: All routes and all active options are exported, so it is easy to see to which routes orders with options can be auto dispatched. For more information on how to control automatic distribution with options, see Auto dispatch.
-
The Excel file only shows whether the options are in the Included or Excluded list ("Yes" or nothing in the Excel file). It does not show whether or not the Only combine with selected options checkbox is selected. This means that it is not possible to assess which routes orders with options are Auto dispatched on, as this is controlled by the checkbox. Go to the Routes window and check the routes of interest.
-
Inactive options also appear in the lists in the Routes window, but they are not exported to Excel.
-
-
Routes - route groups: All routes and route groups are exported with information on which route groups the routes belong to.
-
Routes - schedules: All routes and all schedule information are exported.
Exporting routes to Excel
Click on Export to Excel in the menu of the route register (Order > Routes). The Export to Excel dialogue box opens. Select the information you want to export and click on Ok. You can edit the Excel file that opens, save it and then import it into Opter again.
-
If you have filtered the list of routes, you can export only the routes you have filtered/searched by selecting Only export the routes in the search results.
-
If you change what is in cell A1 at the top left of XML, for example Routes - Route groups, you will get the following warning when you try to import the file back into Opter: The selected file has an unexpected name. Are you sure you want to import the selected file? Routes will be overwritten, and this command cannot be undone..
Import routes from Excel
-
Click on Import on the menu in the route register.
-
Select what is to be imported in the drop-down list. For example, if you exported using the Routes - Pickup option, select Pickups here.
You can see what information has been exported in cell A1 of the Excel file.
-
Click on Select file and browse to the XML file you want to import.
-
Please check carefully that you are importing the correct Excel file. The routes in Opter will be overwritten with the contents of the Excel file, and this cannot be undone.
-
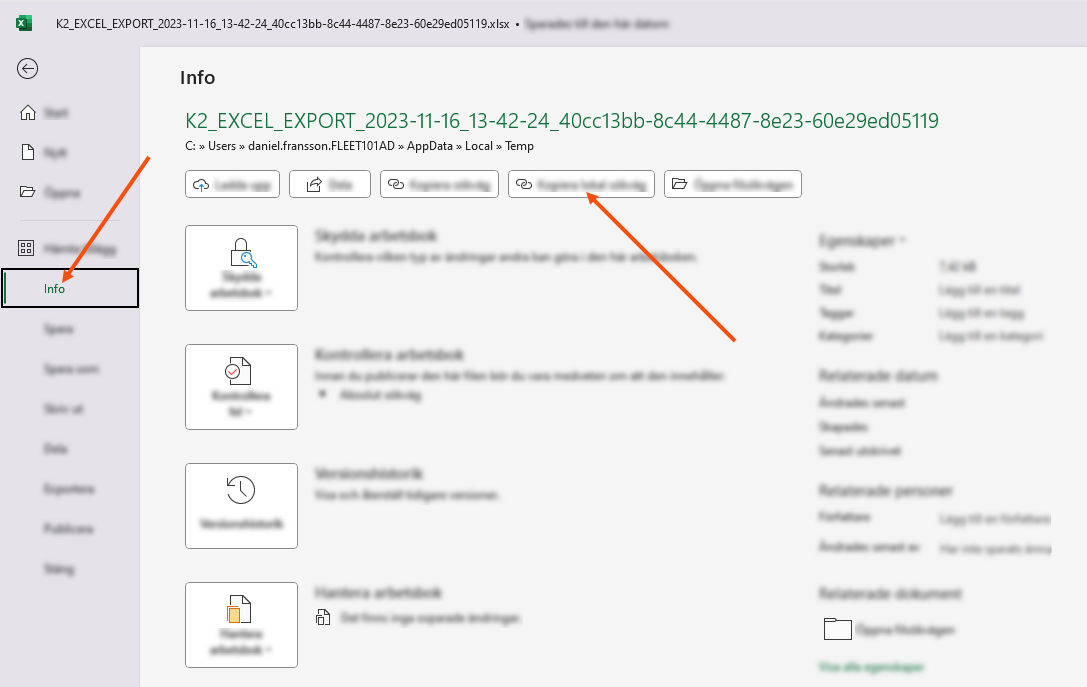
If the routes have just been exported, the file is in the temp folder on the computer. If it has not been moved from there, or if you want to quickly find its location, click File > Info > Copy Local Path in Excel and paste the path and file name into the import window in Opter.
-
-
A preview of what will be imported is displayed. Click on Import if it looks right. A log with the result of the import is displayed.
We recommend that you delete the Excel file from your computer once you have imported it, so that you do not accidentally import a file with old information at a later date.